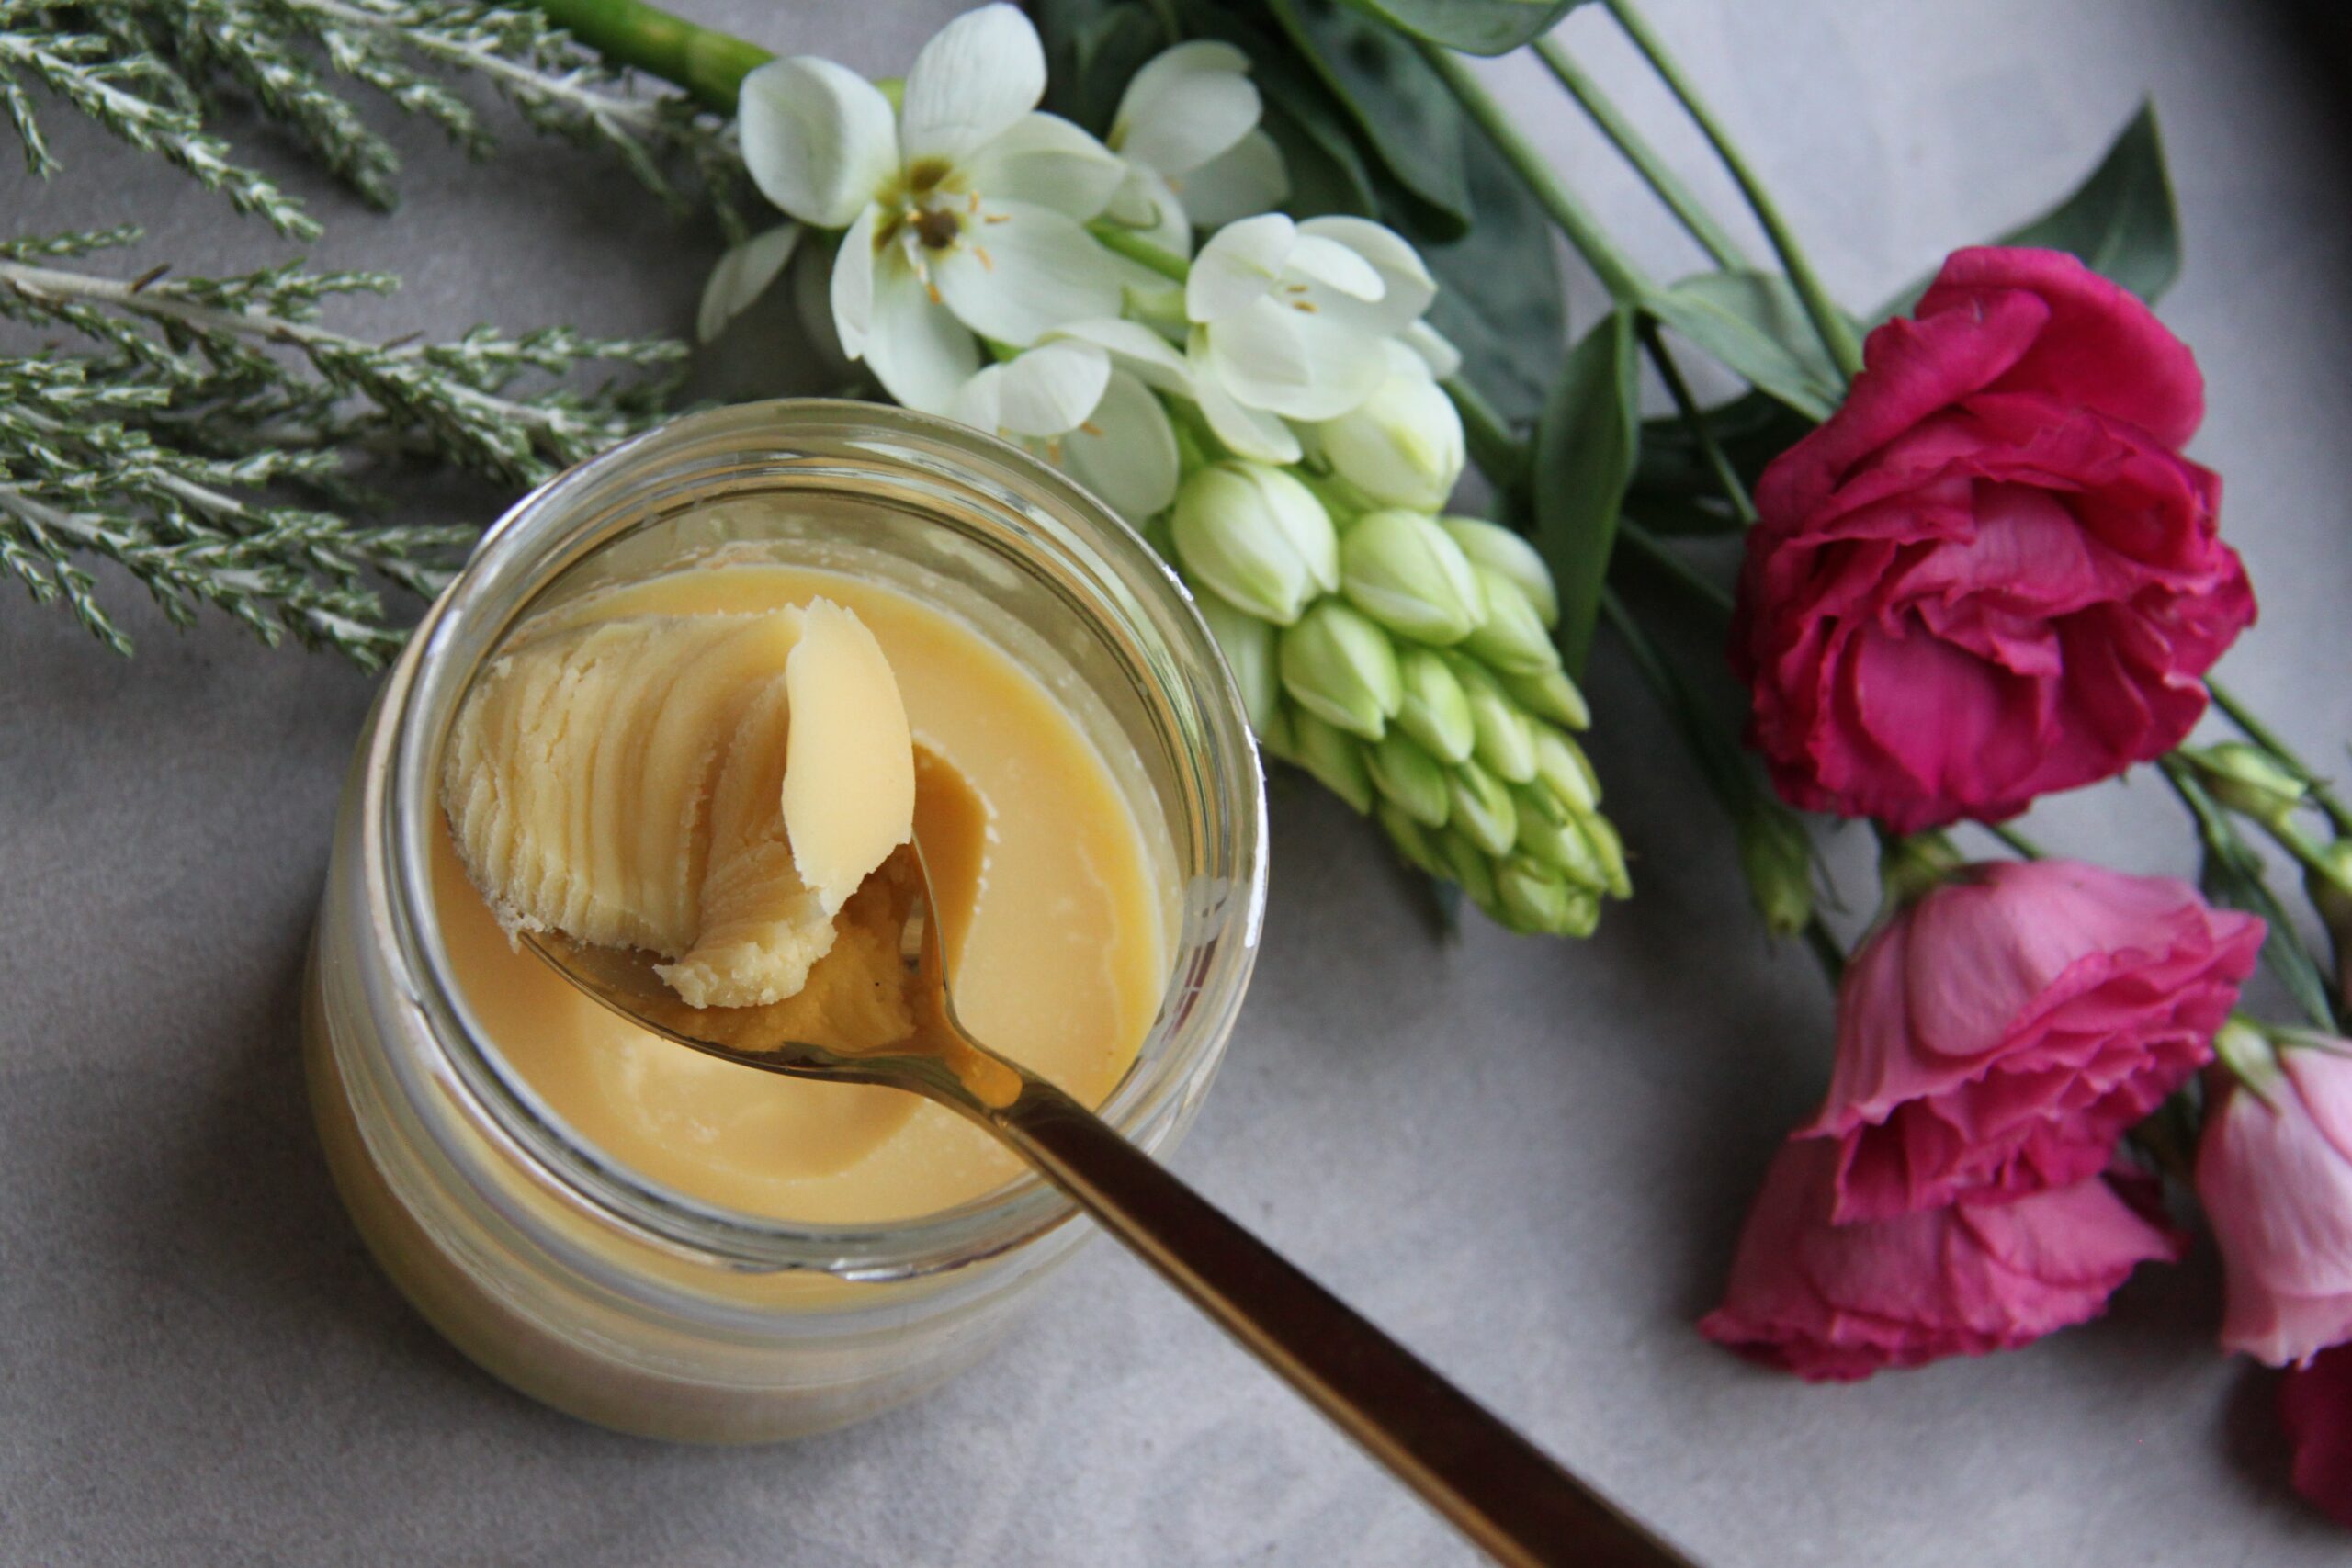
How to Make Ghee aka ‘Liquid Sunshine’
Ghee, or clarified butter, is an Ayurvedic staple used not only in cooking but also externally and in many different kinds of Ayurvedic treatments.
It is said that when we consume ghee we are consuming the radiant power of the sun that the cow has preciously transformed for us. Ghee can be used in place of any oil or butter and is easily absorbed into our tissues, supporting the absorption of nutrients from our foods and herbs. Ghee is supportive of all doshas (though should not be used in excess with high kapha dosha), does not burn easily (unless heated excessively), and smells and tastes wonderful.
Some other benefits of consuming ghee include:
- supports agni – “digestive fire”
- pacifies pitta and vata doshas
- improves lubrication in all tissues and joints
- improves complexion
- increases stamina and longevity
- nurtures and cleanses blood tissue
- soothes the nerves
You can buy ghee but it’s cheaper (and more fun) to make if yourself.
Recipe for homemade ghee
Here’s what you need:
- Organic, unsalted butter (the quality of a cow’s life will greatly affect the quality of your ghee)
- Clean, dry glass jar(s) with a lid
- Stainless steel, glass or ceramic saucepan
- Fine mesh strainer or unbleached cheesecloth
Here’s how to make ghee:
- Ghee is very energetically sensitive so it’s best to make it when you are feeling peaceful (around the full moon will also imbue extra energy into your ghee!).
- Begin by melting the butter over medium-low heat in a stainless steel, glass or ceramic saucepan. When it begins popping, turn the heat down to a simmer. This is a nice time to say a blessing, mantra or gratitude.
- Leave it simmering uncovered, adjusting the heat so that it continues to pop but is not bubbling aggressively. You do not need to stir the ghee. It’s best to stay close by and err on the side of lower heat until you are familiar with the process.
- The ghee is ready when the popping subsides and the milk solids on the bottom of the pan begin to turn brown (you may brown the ghee a bit extra for a more nutty flavor, but be very careful not to burn). This process may take 15 minutes or up to two hours depending on the quantity and quality of the butter, weather conditions, etc.
- When it’s ready, immediately remove the ghee from the heat and let it cool for 10-15 minutes before straining it through a clean cheesecloth or fine mesh colander into a clean, dry jar or jars.
Enjoy your liquid sunshine!
Notes: 1lb of butter will approximately fill a pint jar. You can make as much ghee at once as you’d like, but it’s best to start with smaller amounts until you get comfortable with the process. You can use ghee in cooking, baking, or anywhere you’d spread butter. It will last indefinitely as long as it’s stored in a clean, dry container out of the light. Always use a clean, dry utensil with the ghee as water will create mold.
Photo by Megumi Nachev on Unsplash